
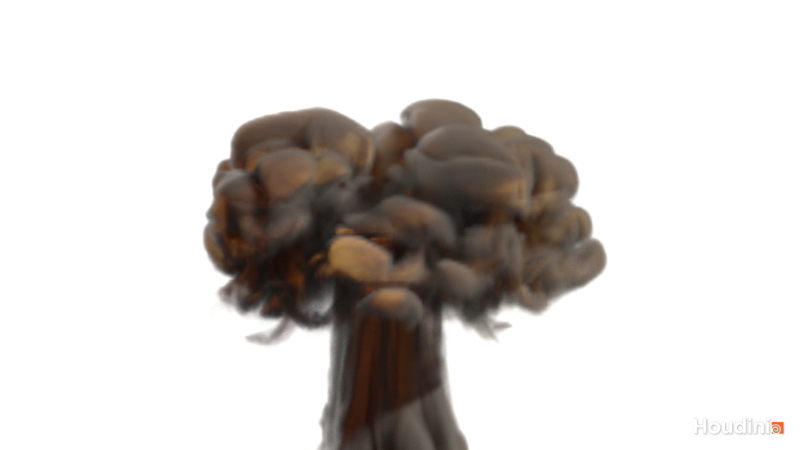
Custom GPU Pyro: Build Your Own Solver
How to architect a GPU-first pyro pipeline in Houdini 22 – from the anatomy of a single solver step to OpenCL microsolvers and a production workflow for explosions that look like yours, not like a preset.
The last 20 % is what makes an explosion yours
Every pyro shot starts in the same place: the stock solver gets you most of the way. What separates a studio look from a shelf-tool look is the rest – how a fireball rolls over itself, how quickly it sheds detail, how long the smoke hangs before it settles. That behaviour lives in the order and the content of the solver step, not in a single magic parameter.
GPU solvers such as Axiom showed how much faster look development becomes when a simulation answers in seconds instead of minutes. Building your own solver does not mean reinventing fluid dynamics. It means owning the pipeline around it:
- Iteration speed – look dev on the GPU, so you can try ten ideas instead of two
- Look ownership – custom forces that encode your studio’s taste for fire and smoke
- Reuse – package what works as an HDA with a handful of artist controls
GPU pyro options in Houdini 22
Before writing a single kernel, pick the right base. Houdini 22 gives you several routes, and they differ in what runs on the GPU and how much you can customise:
| Route | Runs on | Best for |
|---|---|---|
| Pyro Solver – Sparse | CPU | Production default. Sparse domain, any microsolver, maximum flexibility. |
| Pyro Solver – Dense + OpenCL | GPU (dense) | Compact domains. OpenCL acceleration only works in dense mode. |
| Minimal OpenCL Solve | GPU | Fastest look dev – keeps data on the device, fewer features. |
| COP Pyro (Copernicus) | GPU, sparse | Introduced in H21, production-ready in H22 with implicit-surface sourcing and collisions. Extend with OpenCL COPs. |
| Axiom (Theory Accelerated) | GPU, sparse | Third-party plugin: OpenCL/Metal/CUDA with CPU fallback, built for fast iteration. |
What happens in one solver step
Every pyro solver – stock, Axiom or your own – repeats the same sequence per substep. Knowing it tells you exactly where a custom force has to go:
- Source – inject density, temperature, flame/fuel and velocity from your emitters.
- Forces – buoyancy, wind and your own custom fields push the velocity.
- Shaping – disturbance, turbulence and vorticity confinement add and preserve detail.
- Combustion – burn flame or fuel, release heat and add divergence (expansion).
- Advection – move all fields along the velocity field.
- Projection – the pressure solve removes divergence, so gas only expands where you asked it to.
- Dissipation & cooling – fade density, cool temperature, let the shot settle.
Stay on the GPU
GPU solvers rarely lose time on maths. They lose it on copies between system memory and video memory. A single CPU microsolver between two OpenCL nodes forces a full round trip of every field it touches.
- Prototype in VEX, ship in OpenCL – VEX is quick to debug; port the logic once it works.
- Bind only what you need – Houdini only copies data that is actually bound to a kernel.
- Never read neighbours from the field you write – write into a temporary field first, or you get race conditions and noisy artefacts.
- Budget VRAM – GPUs have no virtual memory. Too much data fails instead of slowing down.
- Disable DOP caching for look dev – caching copies the fields every frame.
Three custom microsolvers
These three forces cover a large part of what makes explosions feel art-directed. Each comes as a VEX prototype for a Gas Field Wrangle and as an OpenCL version.
1 · @TimeInc only exists when Include Timestep is enabled on the node.
2 · Houdini’s native volumes store vectors as three scalar volumes (vel.x/y/z) – for
float3 bindings use vector VDBs (VDB Vector Merge).3 · A kernel only iterates over the voxel topology of the grid it writes. A constant or empty grid (e.g. zero divergence) has no voxels – activate it from the burn grid first (VDB Activate, region from reference VDB).
Binding syntax differs slightly between the OpenCL SOP, OpenCL COP and Gas OpenCL DOP – use Generate Kernel to check the signature in your context.
A · Temperature-driven lift
Classic buoyancy, but only above an ambient threshold – hot cores rise hard, cooling smoke slows down and starts to roll instead of shooting upwards forever.
// prototype: lift only where the gas is hotter than ambient
float lift    = chf("lift");
float ambient = chf("ambient");
float t = max(f@temperature - ambient, 0);
v@vel.y += lift * t * @TimeInc;#bind parm lift float val=1.5
#bind parm ambient float val=0
#bind vdb temperature float
#bind vdb &vel float3
@KERNEL
{
float t = fmax(@temperature - @ambient, 0.0f);
float3 v = @vel;
v.y += @lift * t * @TimeInc;
@vel.set(v);
}B · Speed-adaptive shredding
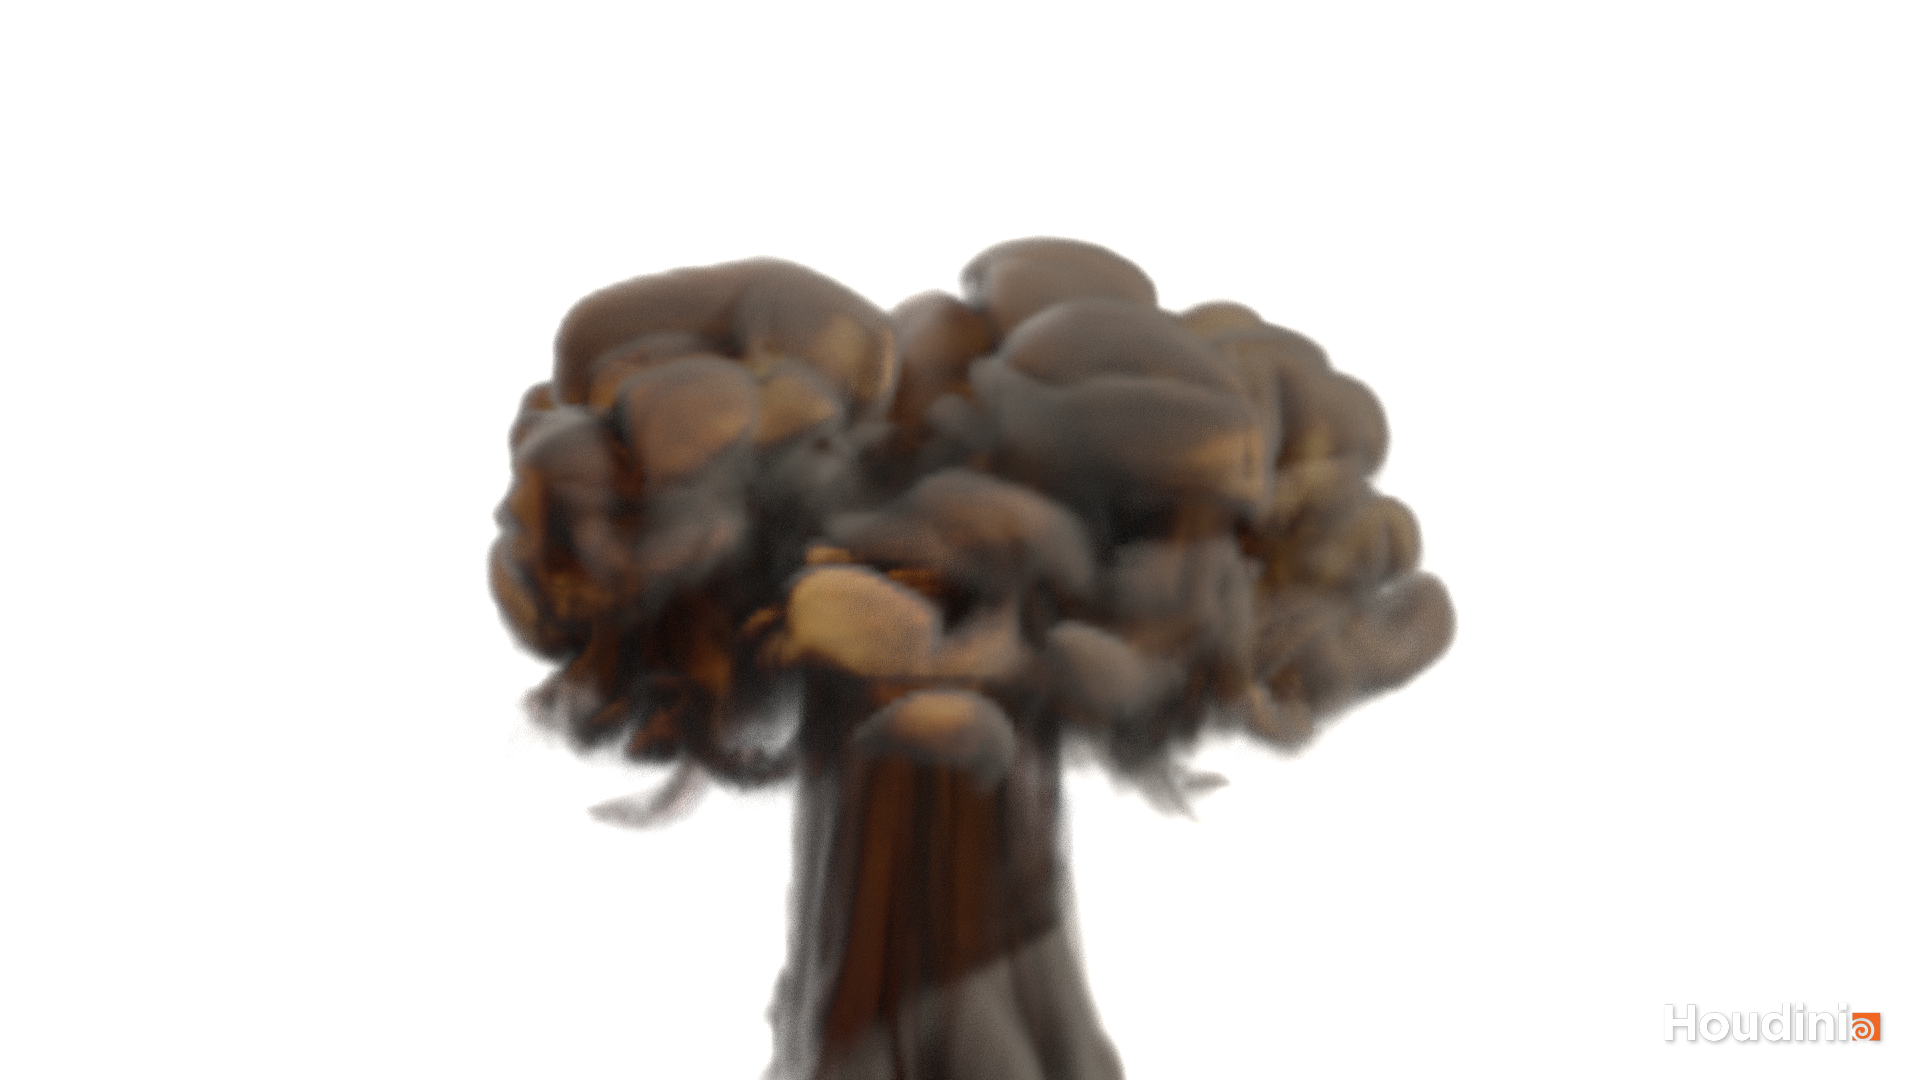
Blobby explosions usually have uniform detail. Real fireballs tear apart where the gas moves fast and stay soft where it is slow. Mask your turbulence by speed:
// add curl noise only where the gas is fast
float speed = length(v@vel);
float mask  = fit(speed, chf("speed_min"), chf("speed_max"), 0, 1);
vector n    = curlnoise(v@P * chf("freq") + @Time * 0.3);
v@vel += n * mask * chf("amp") * @TimeInc;
On the GPU, let Gas Turbulence generate the noise into a temporary field (it has an OpenCL option) and only apply the mask in your kernel:
#bind parm smin float val=2
#bind parm smax float val=12
#bind vdb turb float3
#bind vdb &vel float3

@KERNEL
{
    float3 v = @vel;
    float  m = clamp((length(v) - @smin) / (@smax - @smin), 0.0f, 1.0f);
    @vel.set(v + @turb * m * @TimeInc);
}
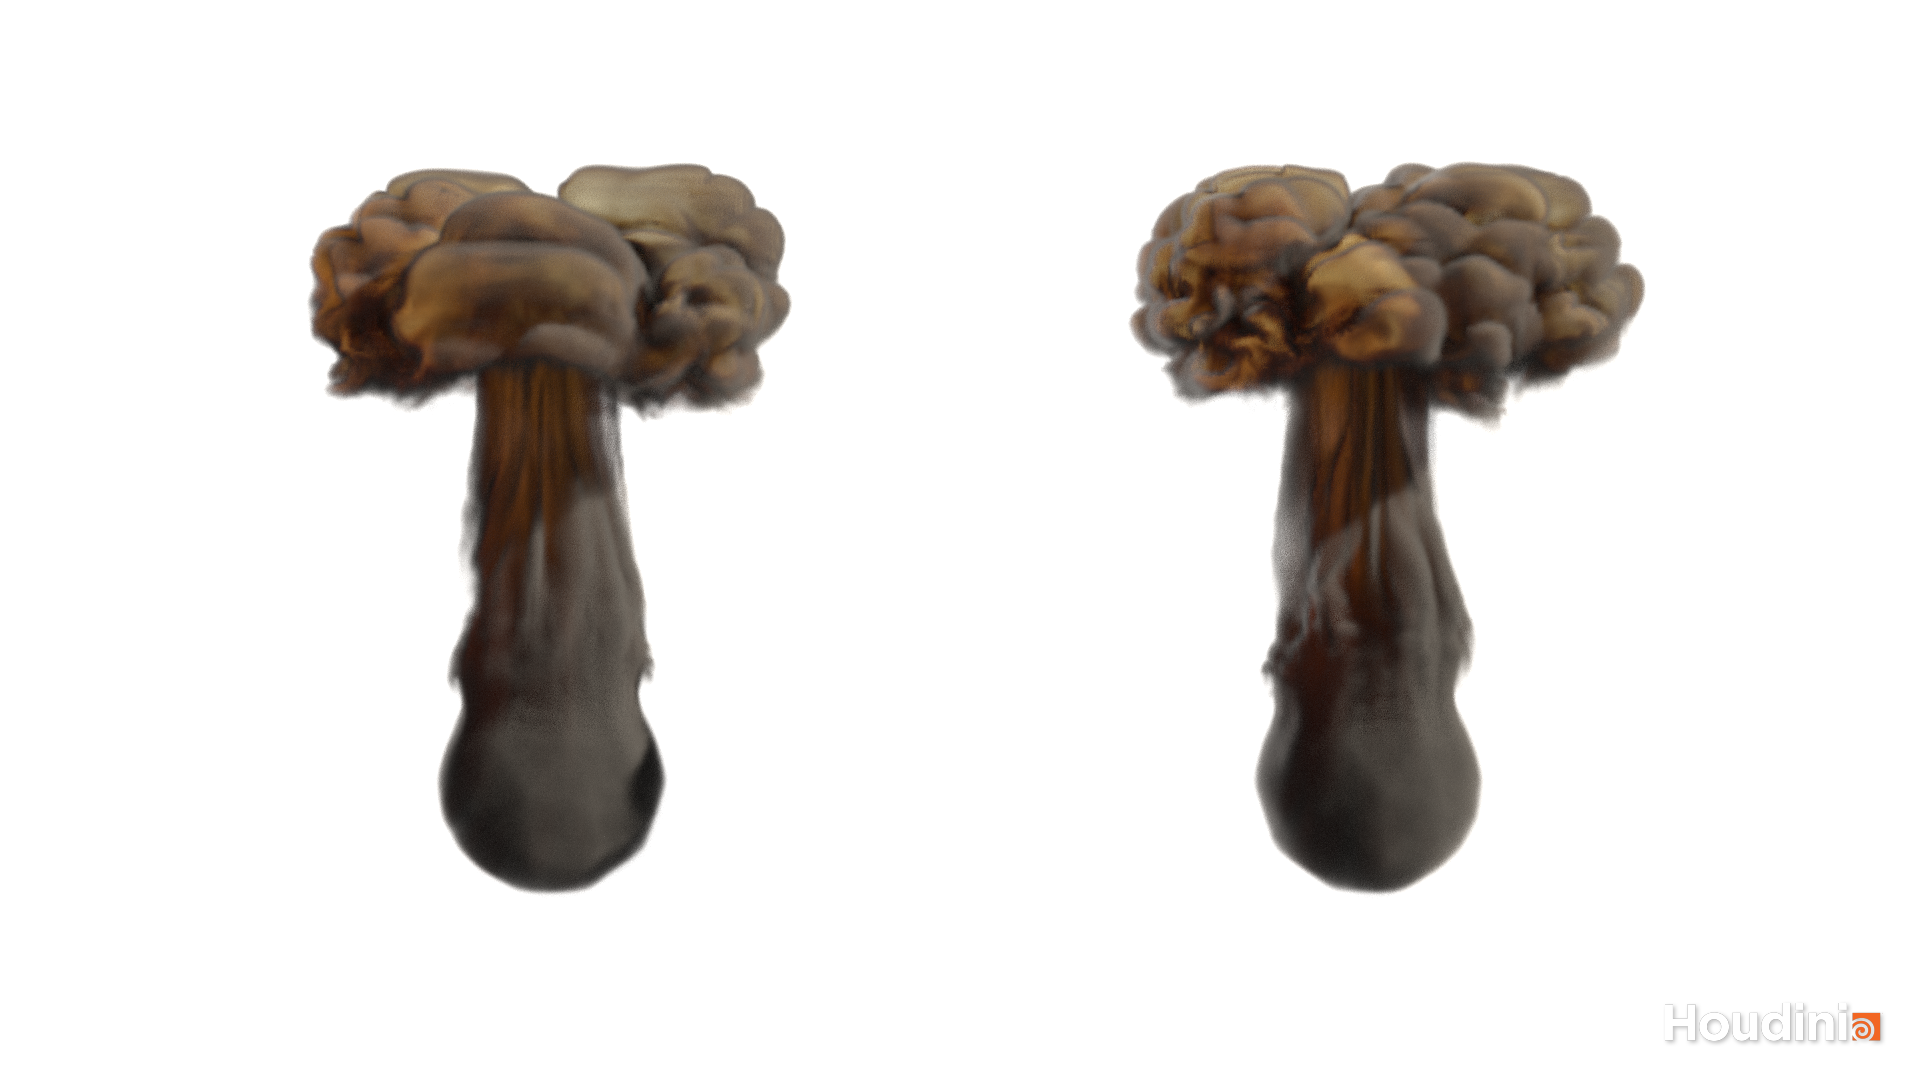
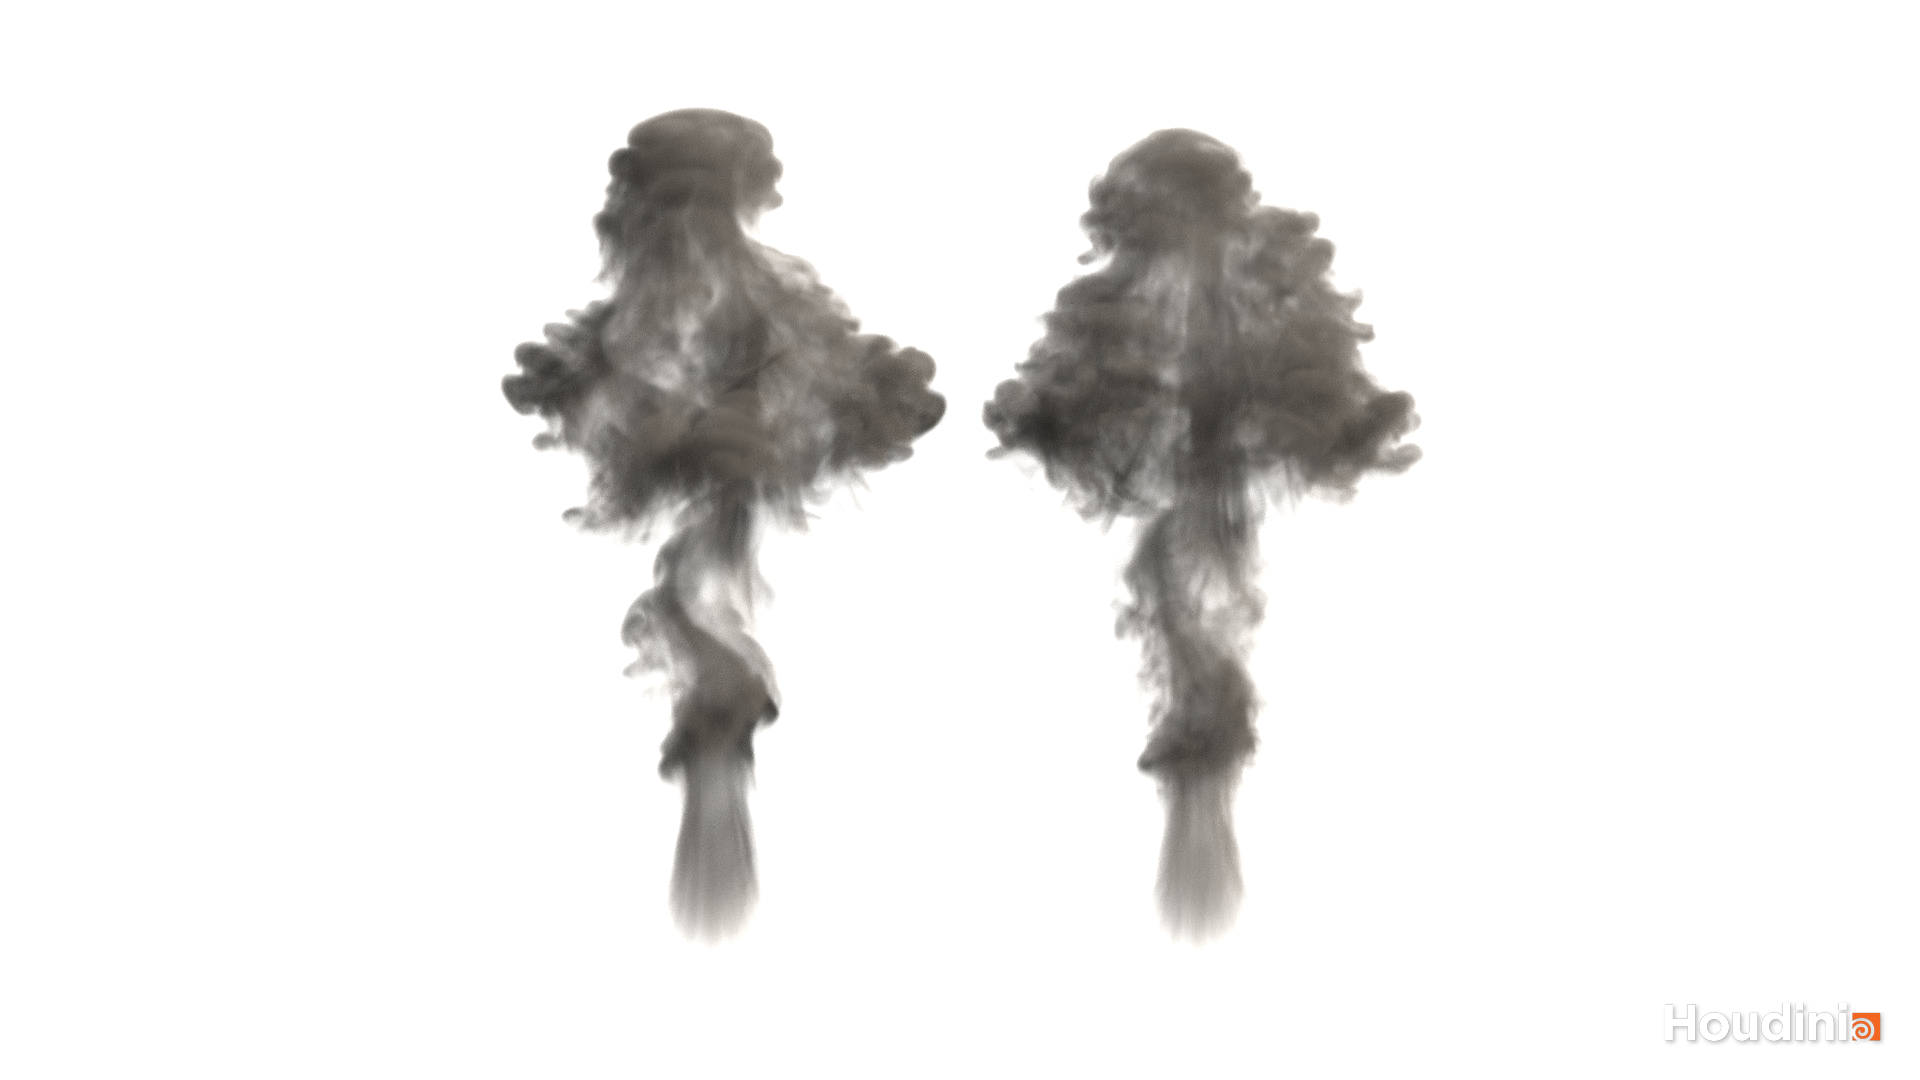
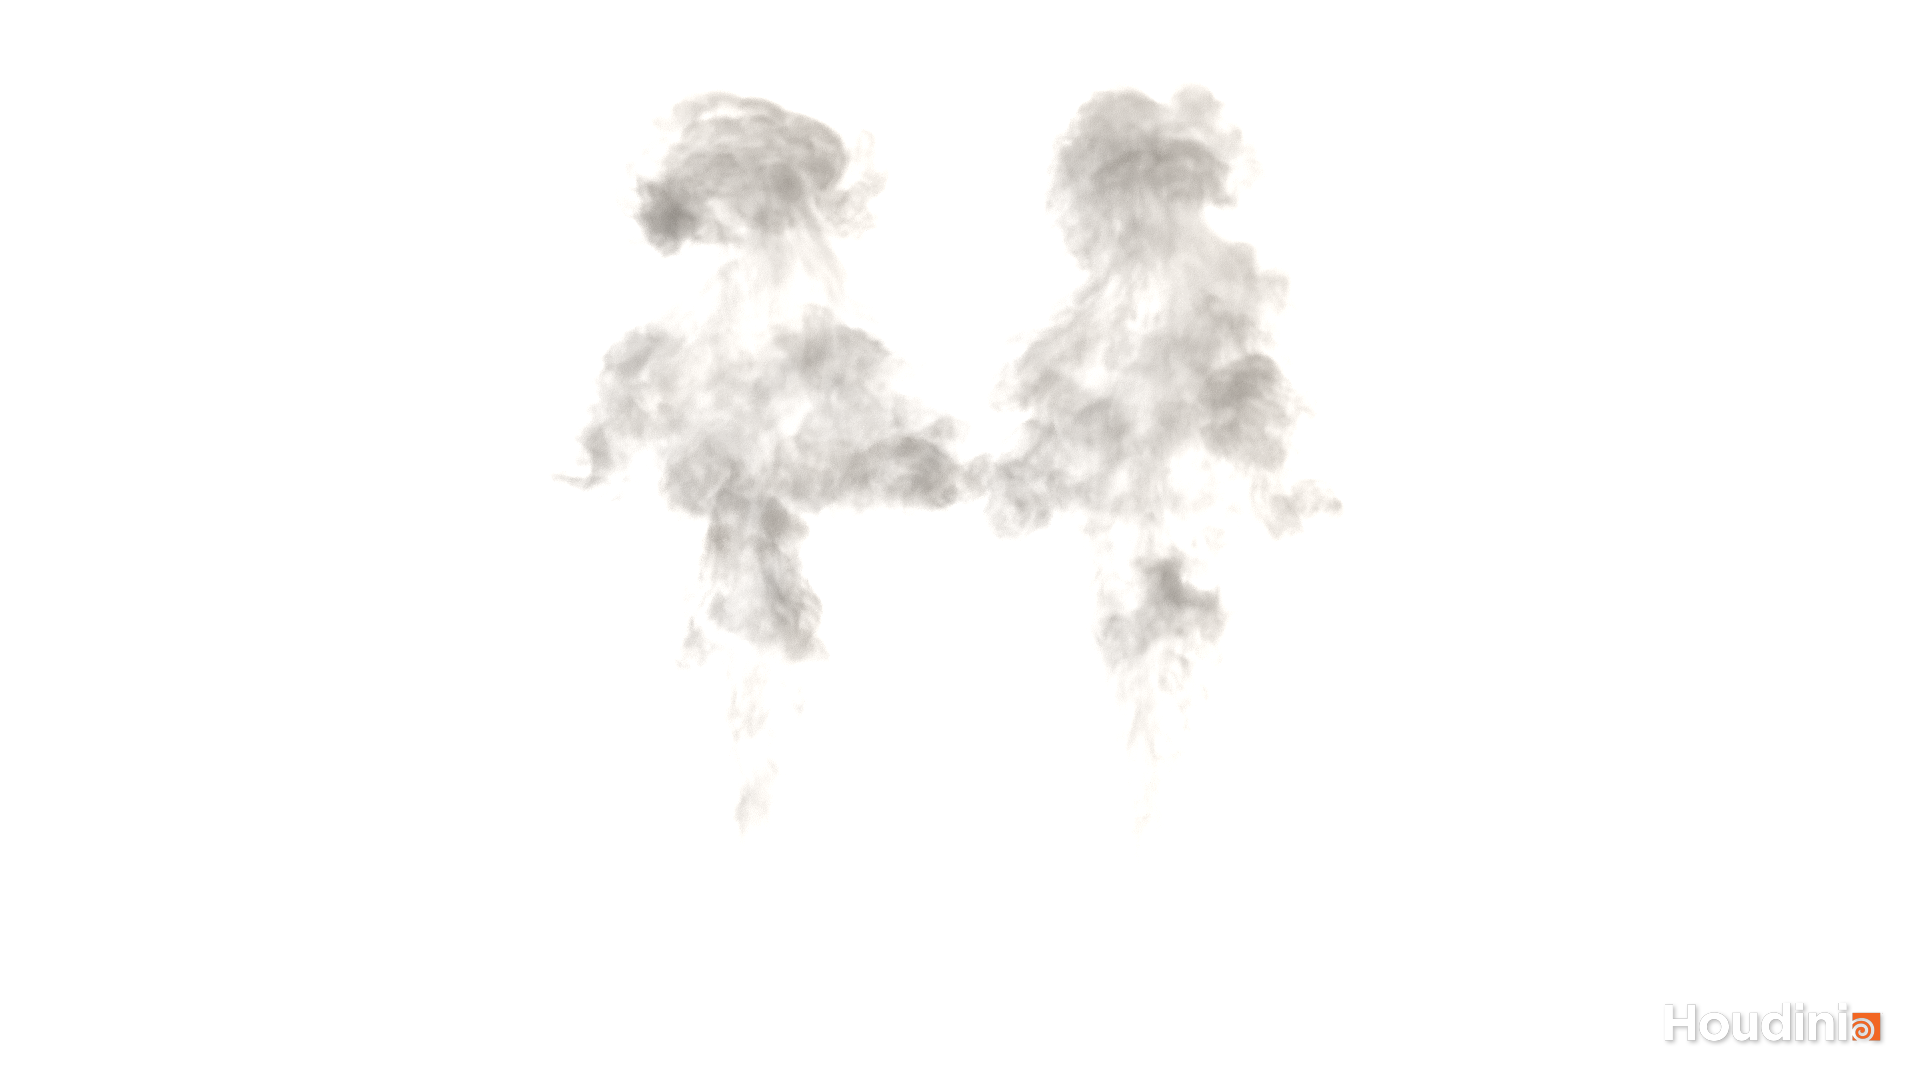
Frames 10, 18 and 26 – same source, same solver settings. Left: plain sparse pyro. Right: with speed-adaptive shredding. The cap tears into finer curls where the gas is fast, while the slow trailing smoke stays soft.
C · Burn-driven expansion
The blast should come from combustion, not from a velocity kick on the source. Feed divergence from the burn field – the projection step then turns it into a clean, physical push.
// expansion where fuel is burning
f@divergence += f@burn * chf("expansion");#bind parm expansion float val=2
#bind vdb burn float
#bind vdb &divergence float
@KERNEL
{
@divergence.set(@divergence + @burn * @expansion);
}Since Houdini 21 the Gas Burn DOP covers the basic version natively. The custom one is worth it when you want extra control – for example expansion that fades with the age of the burn.
Plugging it into a solver
Route A · DOPs with Pyro Solver (Sparse)
In Houdini 22 the Pyro Solver (Sparse) DOP has three extra inputs: Advection, Sourcing and Forces. Lift and shredding go into Forces, so they run before projection; divergence belongs into Sourcing. Running in sparse CPU mode? Use the VEX versions. Running dense with OpenCL? Keep the whole chain OpenCL so nothing falls back to the CPU in the middle.
Route B · COP Pyro in Copernicus
In Houdini 22 the COP Pyro block is the most direct path to a sparse GPU solver you can extend. Source with implicit surfaces (Pyro Source Shape → Pyro Source from Shape), use the new force nodes such as Pyro Vortex Confinement Force and Pyro Velocity Scale Force, and drop your own OpenCL COPs into the block. The H22 dry-ice example shows exactly this pattern of adding nodes to the solver.
Package it
Wrap the result in an HDA with six to ten exposed controls – lift, ambient, shred range, expansion, dissipation – plus presets for your typical shots. That HDA is your look.
From reference to final explosion
The solver is only half the work. The other half is a disciplined method – the same reference-first, iterate-fast approach that the best Houdini training programmes teach:
- Break down the reference. Split the event into phases – flash, initial blast, fireball, rolling smoke, settling dust – and write a frame timing sheet.
- Proxy look dev on the GPU. Low resolution, Minimal OpenCL or COP Pyro. Decide shape and timing only. Wedge three or four parameters with TOPs.
- Lock the motion, then add resolution. Keep the approved low-res velocity as a guide. Run the final at production resolution, or try ML Volume Upres (Houdini 21+).
- Layer, don’t overload. Hero burst, secondary trails (Pyro Trail Source), ground dust and debris smoke as separate sims – easier to direct, cheaper to fix.
- Shade in context. Karma XPU, a linear/ACES colour pipeline, emission from temperature and flame – always judged against the reference.
- Package what worked. Presets, HDAs and a short note on why – that is how a studio look grows from shot to shot.
In short
- Pick the base first: Sparse for production flexibility, COP Pyro or Minimal OpenCL for GPU speed.
- Hook custom forces in before projection – they stay stable.
- Keep the whole chain on the GPU; one CPU node can cost more than all your kernels.
- Drive the blast with divergence from burning fuel, not velocity kicks.
- Your look is a method plus an HDA – not a single sim.


Explosions for your production?
Start from production-tested Houdini explosion setups in our store – or bring us into your film, series or game project. We work remotely with studios worldwide.
Axiom is a product of Theory Accelerated. Houdini, Copernicus and Karma are products of SideFX. Training providers are mentioned for context only – this article is independent and written by IDA VFX.